

Tesla OEM parts replacement offers advantages in aesthetics, performance, safety, and reliability for Tesla vehicle owners. These genuine components fit perfectly and withstand various conditions. For DIY projects, replacing front or rear fascia requires careful preparation, alignment, and installation to maintain the car's unique design and value.
Looking to enhance your Tesla’s exterior? Consider a Tesla OEM parts replacement for your front and rear fascias. This guide delves into the benefits of genuine Tesla components, ensuring superior quality and seamless fit. From understanding the advantages to step-by-step instructions, we cover everything you need to know. Learn about the rear fascia replacement process, common challenges, and expert tips to ensure a successful DIY or professional modification.
- Understanding Tesla OEM Parts: Benefits and Quality
- Step-by-Step Guide: Replacing Front Facia
- Rear Facia Replacement: Tips and Common Challenges
Understanding Tesla OEM Parts: Benefits and Quality
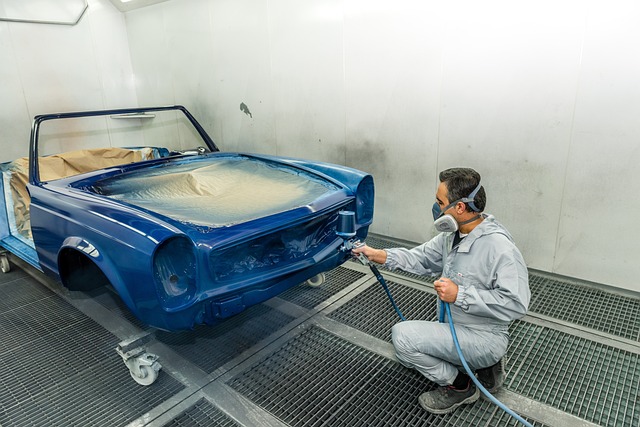
Tesla OEM parts replacement offers several advantages for vehicle owners. These genuine components are designed and engineered specifically for Tesla cars, ensuring a perfect fit and seamless integration into their unique automotive architecture. By choosing Tesla OEM parts, owners can maintain the original aesthetics and performance of their vehicles, as these parts are crafted to exacting standards, reflecting the brand’s commitment to quality and innovation.
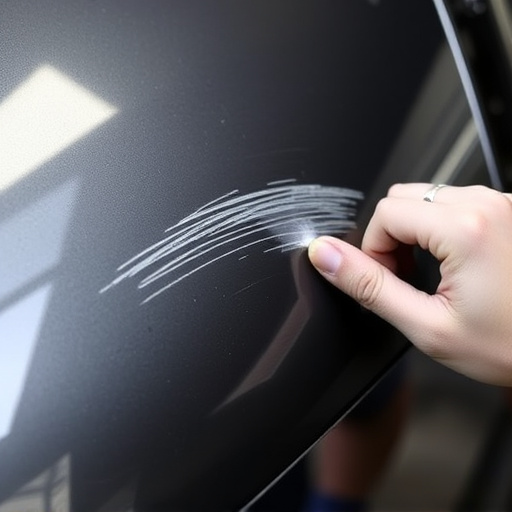
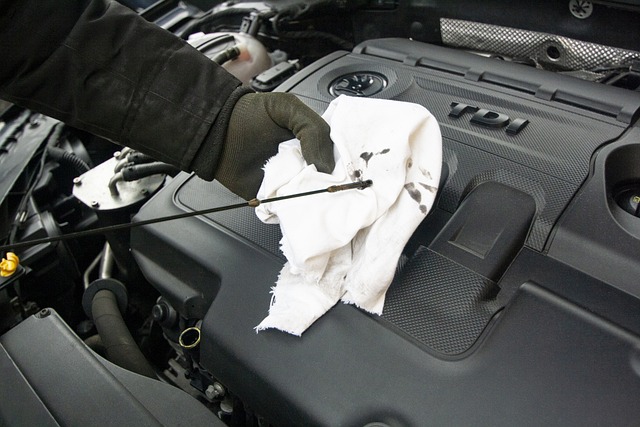
The benefits extend beyond appearance. Tesla OEM parts replacement is crucial for maintaining vehicle safety and reliability. These parts undergo rigorous testing to meet or exceed industry standards, ensuring they can withstand the rigors of daily driving and even severe weather conditions. Moreover, using original equipment manufacturer (OEM) parts facilitates proper maintenance and repair, especially in complex systems like front and rear fascias. This approach streamlines car scratch repair, paintless dent repair, and vehicle collision repair processes, ultimately preserving the car’s value and ensuring a smooth ownership experience.
Step-by-Step Guide: Replacing Front Facia
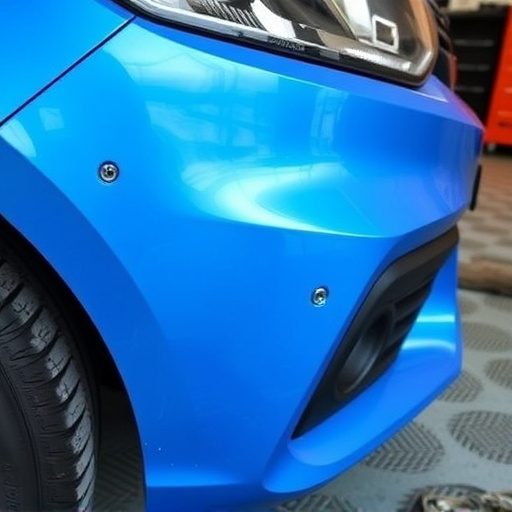
Replacing your Tesla’s front fascia with genuine OEM parts is a straightforward process that can be completed by dedicated car enthusiasts or even those new to vehicle bodywork repairs. Here’s a step-by-step guide to help you through the process, ensuring a secure fit and retaining your Tesla’s sleek design:
1. Preparation: Gather all required Tesla OEM parts, including the front fascia, necessary hardware, and any required tools. Ensure your work area is clean and well-lit. Park your Tesla on a level surface for stability during the repair.
2. Remove the Old Facia: Start by detaching any electrical components or sensors connected to the old front fascia. Carefully remove screws, bolts, or clips securing the fascia to the vehicle. Some models might require specific tools for these steps, so refer to your Tesla service manual or consult a professional if uncertain. Once detached, carefully lift and set aside the old fascia, taking note of its alignment and placement.
3. Install New Facia: Align the new Tesla OEM front fascia with the vehicle’s edges and secure it using the appropriate hardware. Ensure all pieces are correctly positioned before tightening any bolts or screws. Double-check for proper fitment and security before moving on.
Remember, a successful Tesla OEM parts replacement involves precision and attention to detail, especially when dealing with intricate vehicle bodywork.
Rear Facia Replacement: Tips and Common Challenges
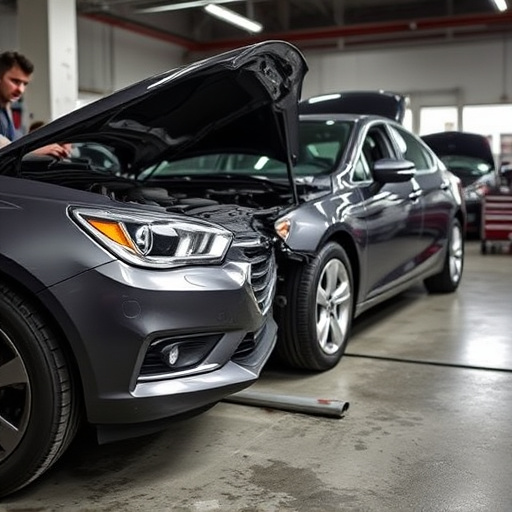
Replacing the rear fascia on a Tesla involves careful navigation through intricate vehicle bodywork. While many owners opt for Tesla OEM parts replacement to ensure precision and compatibility, the process isn’t without its challenges. Common issues include accessing tight spaces due to the car’s unique design, requiring specialized tools for accurate cuts, and handling the sensitive alignment of surrounding components like lights and reflectors.
Properly executing a bumper repair demands meticulous attention to detail. The rear fascia, serving as both functional component and part of your vehicle’s aesthetics, deserves a thoughtful approach. Challenges can arise from unexpected obstructions or damage to adjacent parts during disassembly, necessitating patience and a methodical process. Remember that a successful Tesla OEM parts replacement for the rear fascia requires not just technical skill but also an understanding of the intricate interplay between vehicle bodywork and its exterior components.
Replacing Tesla OEM parts, such as front and rear fascias, offers significant benefits in terms of quality, durability, and vehicle aesthetics. By following the detailed step-by-step guides provided, car owners can confidently tackle these repairs themselves, saving costs and ensuring their vehicles remain in top condition. Whether it’s the front or rear fascia, a meticulous approach, and understanding the importance of genuine Tesla OEM parts replacement are key to achieving professional results.